DIY Halloween Costume Idea || Zombie Wound Tutorial
To all my my procrastinators, budget-friendly recessionistas and/or Pinterest-savvy DIYers that still need to get a costume for Halloween, I’ve got you covered with this zombie make-up tutorial. Fake wounds are easy to create and customize, and the best part about being a zombie is that you probably have most of the supplies you need in your apartment already! So find some clothes you’re willing to rip up (tights are my go-to) and let’s get started!
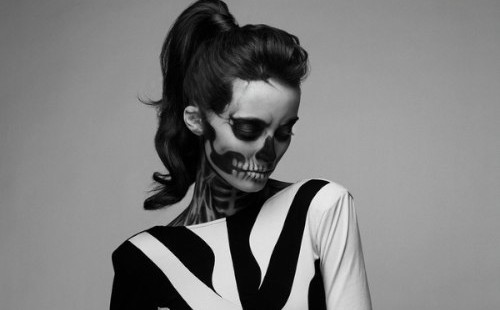
Here’s my costume, zombie style school girl:

What you’ll need:
• Liquid latex (this is the only thing you can’t substitute)
• Paper towels
• Liquid foundation — I recommend using a shade lighter than your skin if possible; it’ll blend better
• Red lipstick
• Brown eye shadow
• Make-up brush (a smaller, flat one like this works well)
• Larger make-up brush (optional) such as this one
• Powder foundation (optional)
• White powder (optional)
A note on LIQUID LATEX: I know this item can be a pain to find, but it’s really the only thing you can use for this. It dries quickly, moves with your skin while it’s on and is easy to remove once you’re done with it. To all my New Yorkers, I just picked some up this past weekend from Utrecht for $23. It’s way more than you need, but hey, now you’ll always have a back-up costume plan. I’m sure you can buy it at Ricky’s or Spirit as well, but it’s probably going to be $10 for a small amount. You should also be able to pick it up from Michael’s.
STEP ONE:
Clean your skin where you want to apply the fake wound, let dry. Rip sections of a paper towel into the shape you want your wound to be. Don’t worry about it being perfect; small imperfections look better for the end result. Don’t cut the paper towel because those jagged, ripped lines will work to your advantage.

STEP TWO:
Make the “wound” by ripping a hole into the middle of the paper towel. Again, don’t try for perfection.

STEP THREE:
Apply liquid latex using a small make-up brush, starting at the edges of the paper towel and working your way out onto your skin. The key is to use smaller strokes and just focus on getting the paper towel glued on your skin (don’t cover the entire thing because that will weigh it down). Let the latex dry; once it’s see-through you’re good to go. TIP: I mix a little liquid foundation into my liquid latex because I’ve found it helps you blend later on.

STEP FOUR:
Apply liquid foundation to your skin around the paper towel. Work it up onto the paper towel using the small make-up brush. Remember not to soak the paper towel down with too much foundation. Leave it a few minutes to let dry.

STEP FIVE:
This is an optional step, but I’ve found it makes it easier to blend everything together. Mix some liquid foundation and liquid latex together and apply it in the area around your “wound.” You’re doing this to create some imperfections in your own skin around the paper towel so that the overall appearance is more realistic. Let dry. Apply additional layers of foundation if necessary. I’ve found that adding a little powder foundation on the top coat makes the blending process a little easier.

STEP SIX:
Using red lipstick, paint the inside part of the wound red. Dab it on the inside edges of the paper towel.

STEP SEVEN:
Dab some brown eye shadow on top of the red lipstick section. This is where the larger, looser make-up brush comes in handy. Using the larger brush, you can either dab it in a downward motion directly onto the red or you can shake some off by flicking the brush toward the wound. Lastly, you can add some white powder onto small sections of the wound to highlight it a little and give it some dimension.


Would you try it out?
♡
Kelley Louise is a hairstylist based in Brooklyn.
Follow her on Facebook • Instagram • Twitter
//
